Settings & data
Feedback and the tour
updated
Tell us what broke or what you'd like, from inside the app — and take (or re-take) the one-minute tour of what Oris can do.
Oris has a built-in Send feedback surface in the Oris app, so you don’t have to hunt for an email address when something breaks or you have an idea. Reach it two ways: the Send feedback button on the app’s General section, or Send Feedback… in the app’s Help menu.
Both open a short sheet with a message box. Type what you want to say (what broke, what’s confusing, what you’d love to see) and hit Send…. That opens a draft in your Mac’s mail app, already addressed to [email protected] with your message filled in. Oris itself sends nothing: it just hands the draft to your own mail app, where you review it and hit Send yourself, so you decide what actually goes out.
Diagnostics are opt-in. The sheet has an Include diagnostics toggle, off by default. When you turn it on, the draft appends a few non-sensitive facts that help with troubleshooting: your Oris version and build, your macOS version, and the status (OK or failed) of your most recent recording along with roughly how long ago it ran. It never includes your audio, your recordings, or your notes, just the version numbers, a one-word run status, and a coarse timestamp. Leave the toggle off and the email carries only your own words.
If your Mac has no mail client configured (or the draft won’t open for some reason), use Copy to clipboard instead. It copies the recipient, subject, and body so you can paste them into whatever you use to send mail.
This is an additional, easier channel alongside the private beta’s email ask, not a replacement: emailing [email protected] directly still works exactly as before. Either way, the fastest way to shape what gets built next is to tell me what broke, and it all goes to the same inbox.
The feature tour
After the setup walkthrough lands your first note, Oris offers an optional tour of what it can do. It’s never required: a small, dismissible prompt — “Take a 1-minute tour of what Oris can do?” — appears alongside the first-note celebration with Take the tour and Maybe later. Finishing setup works exactly the same whether or not you take it. (You can also reach the tour, or skip straight to your notes, right from the first-note step — before you record anything.)
The tour is a short, card-per-feature walkthrough — Next, Back, progress dots, and a Done. Each card explains one feature in a sentence or two and, where it helps, a concrete “try it now” nudge.
What the tour covers
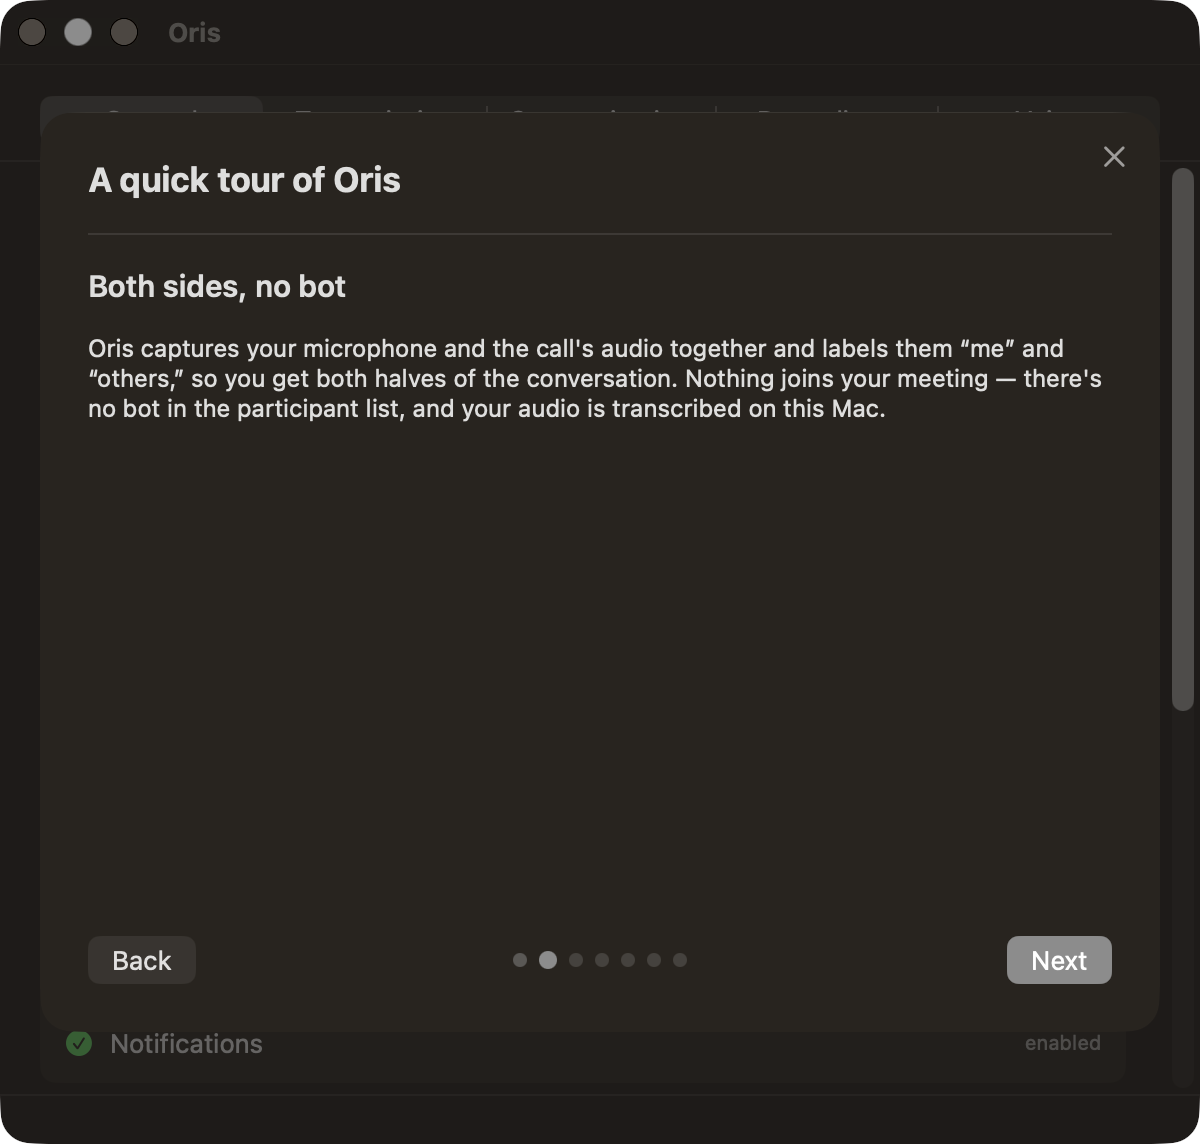
The current tour walks through the shipped feature set:
- Recording basics — how you start and stop a meeting, which depends on the destination you chose during setup. In an Obsidian vault: click the mic icon in the left ribbon to start, click it again to stop; a marker drops into your note and the transcript lands there when it’s done (there’s no default keyboard shortcut — bind one yourself under Settings → Hotkeys if you’d like). For a Markdown folder: click the record button at the bottom of the Oris app’s left-hand rail, click it again to stop, and when the recording finishes Oris writes it into your folder the way that destination places notes — a new file named by your pattern, or appended to the single note you chose. See recording from the Oris app.
- Both sides, no bot — Oris captures your microphone and the call’s audio together and labels them “me” and “others.” Nothing joins the meeting, and the audio is transcribed on your Mac.
- Auto-stop on silence — a recording you forget to stop ends itself after 5 minutes of silence on both sides, with a heads-up notification 60 seconds before.
- Record, then carry on (Obsidian destinations) — the moment you start recording you’re free to switch notes, rename this one, even quit Obsidian; the recorder runs on its own and the transcript follows its marker back into place.
- Troubleshooting & recovery — if a summary can’t be generated the transcript still lands and the failure is called out, and you can retry it once you’ve fixed the cause: from Obsidian’s command palette, or from Recordings → See all recordings… in the app, which is the route that always works. In a vault you also get orphaned-marker recovery, for a note that wandered off mid-transcription.
- Quick Note — press your quick-note hotkey anywhere on your Mac (⌃⇧Space by default), say the thing, and the text is filed without opening anything; captures land in an in-app inbox by default, or straight into a note you pin or a daily or weekly note. See Quick Note.
- Import & reshape transcripts (Obsidian destinations) — bring in a transcript you already have (a .vtt/.srt caption file, an Otter export, a meeting tool’s download) and Oris formats and summarizes it like a recording you made here.
The Quick Note and Import & reshape cards appear only when the matching capability is present in your install, and the import card lists only the parts that are actually available, so the tour never advertises a feature you don’t have. Quick Note’s card shows once voice capture is enabled. Cards like this light up on their own once their capability ships, so there’s no separate update to chase.
The same rule covers your destination. The tour teaches the flow you actually chose: a Markdown-folder setup is never told to click Obsidian’s ribbon icon or to run a command from Obsidian’s command palette, and the cards that only make sense inside a vault — the marker that follows a renamed note, orphaned-marker recovery, importing transcripts — are simply not shown. Change your destination and the tour changes with it, since it reads the destination when you open it rather than when the app starts.
Only what’s new — no forced replays
The tour is built so a returning user is never marched back through steps they’ve already seen. Oris remembers which cards you’ve been through (separately from the setup walkthrough’s own state). If a later update adds a new feature, the next launch surfaces an opt-in “We added something new — take a look?” rather than replaying the whole tour. If you’ve already seen everything, you’re not prompted at all.
Re-open it any time
You can open the tour whenever you like from the Oris app’s General section — the Feature tour button is always there. When there are cards you haven’t seen yet (for example, after an update added a feature), a small New badge appears beside it. Declining (“Maybe later”) just stops the prompt from nagging — it doesn’t hide the tour from the General section.